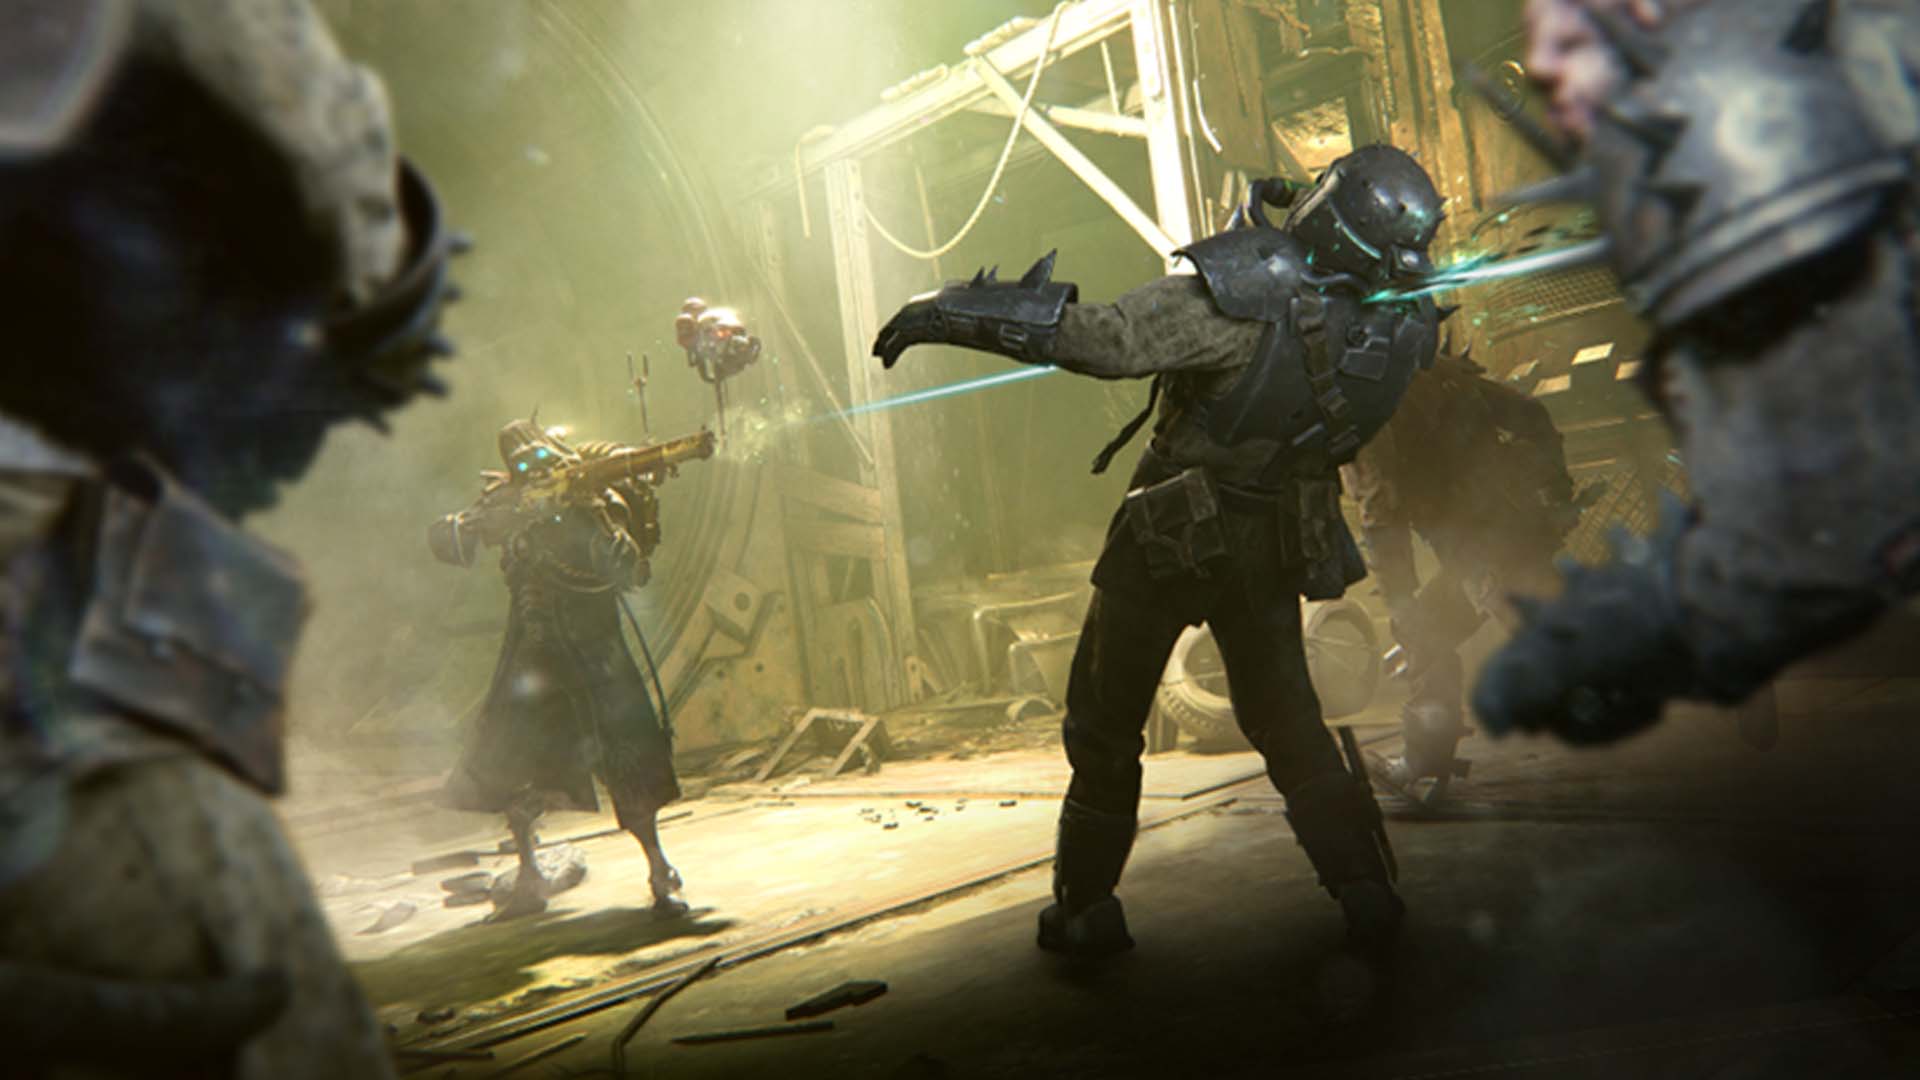
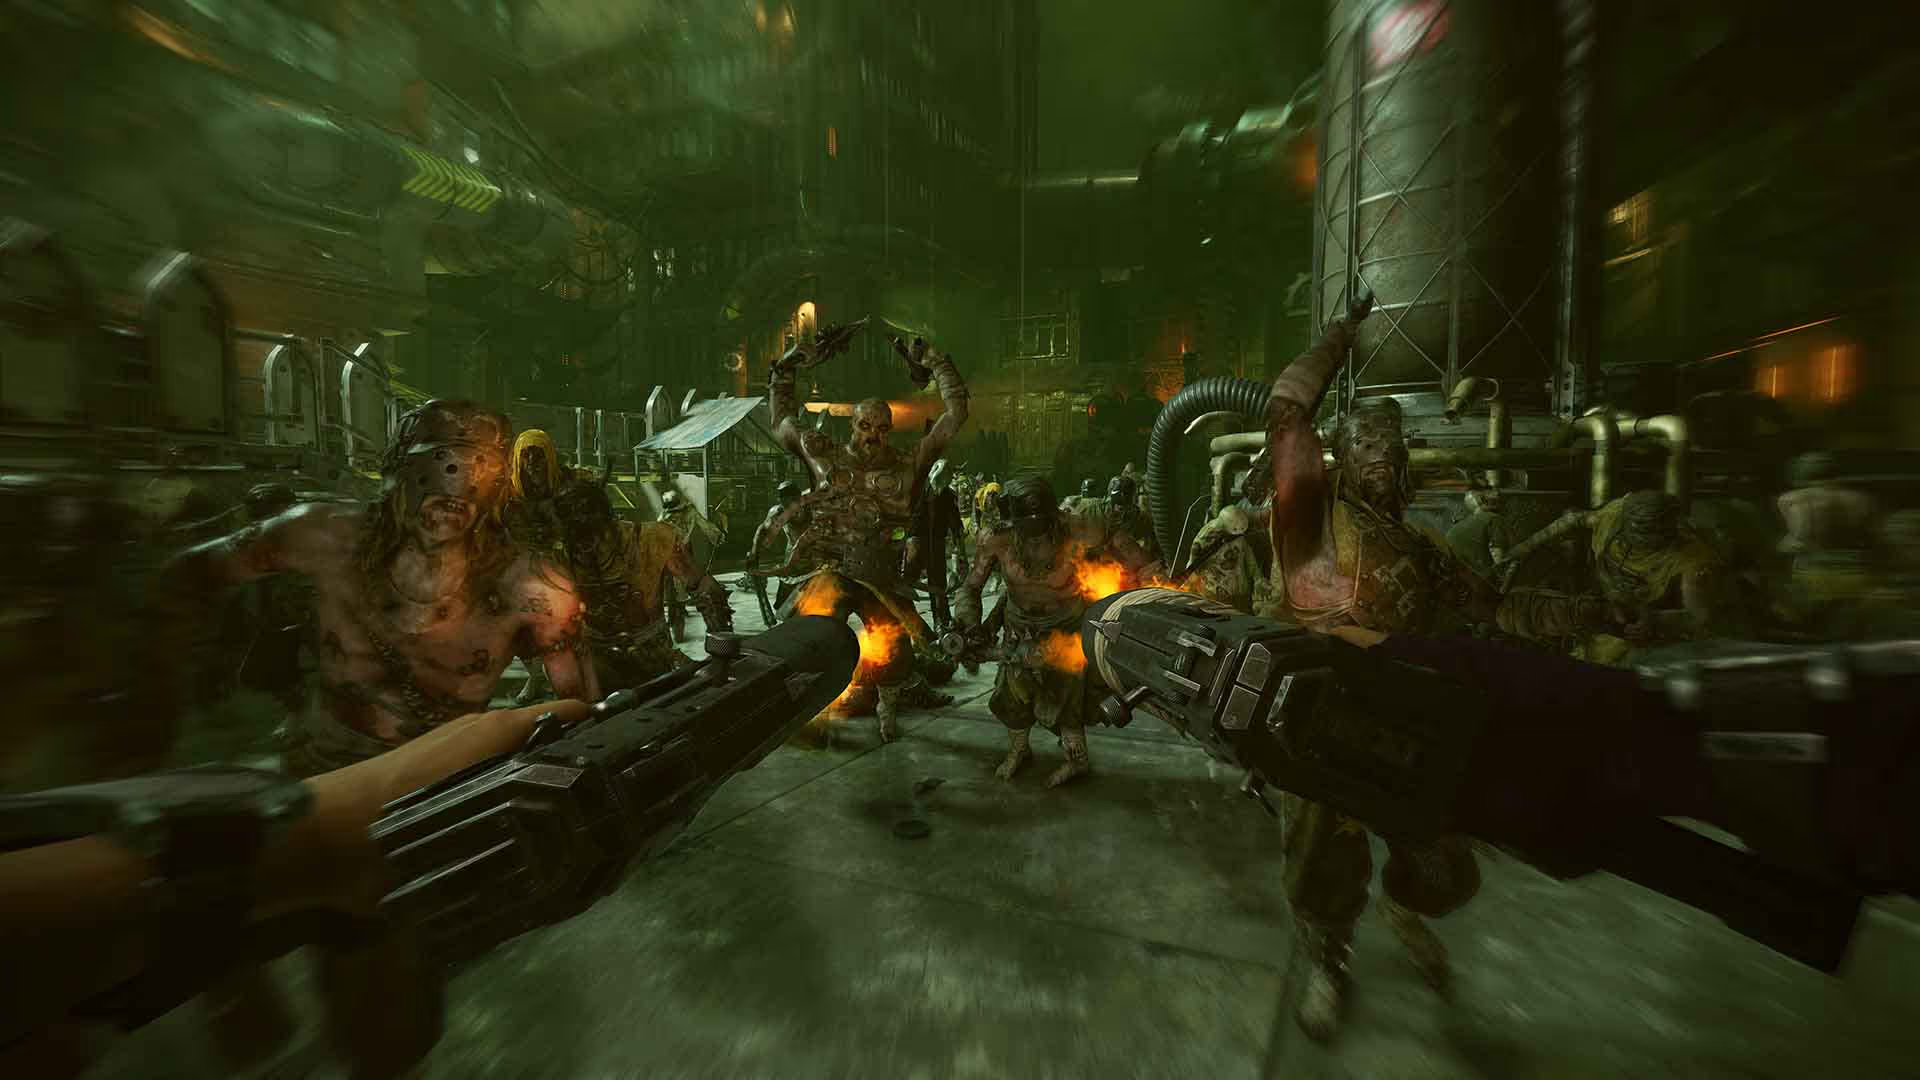
Introducing New Class: Hive Scum
The Hive Scum have finally crashed the party – Darktide’s second Class DLC. Get the Hive Scum Class on all platforms today at the price of $11.99 / €11.99.
Buy Hive Scum on Steam
Buy Hive Scum on Xbox
Buy Hive Scum on PS5

Born and raised in Tertium, the Hive Scum are true criminals. The real deal. Each is a high ranking and lethal footsoldier in service to one of the cartels that run the city’s underbelly.
While most don’t have formal military training, a lifetime surviving on these streets have taught them all they need to know to be killing machines, using unconventional weapons, toxins and underhanded tactics. And while some might deem them untrustworthy, they’ve got plenty of reason to use those skills against the Heretics infesting Tertium.
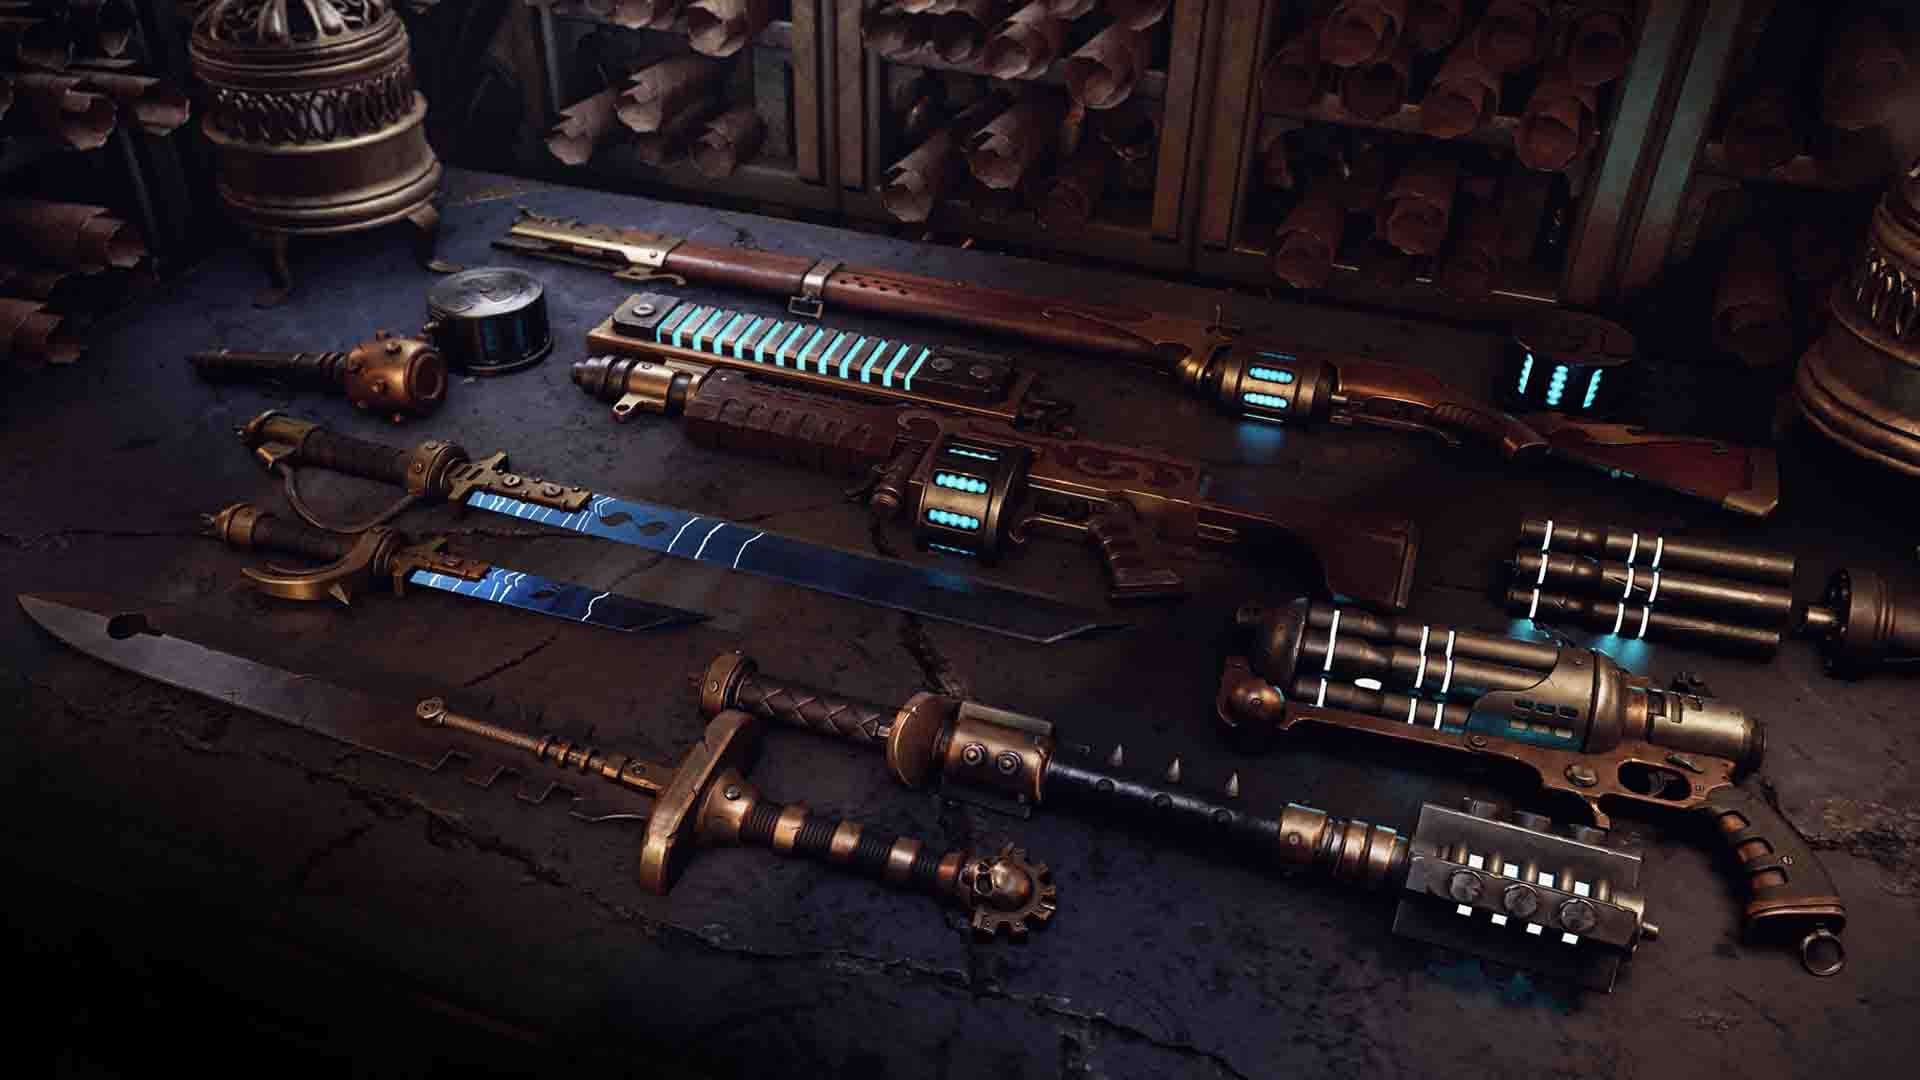
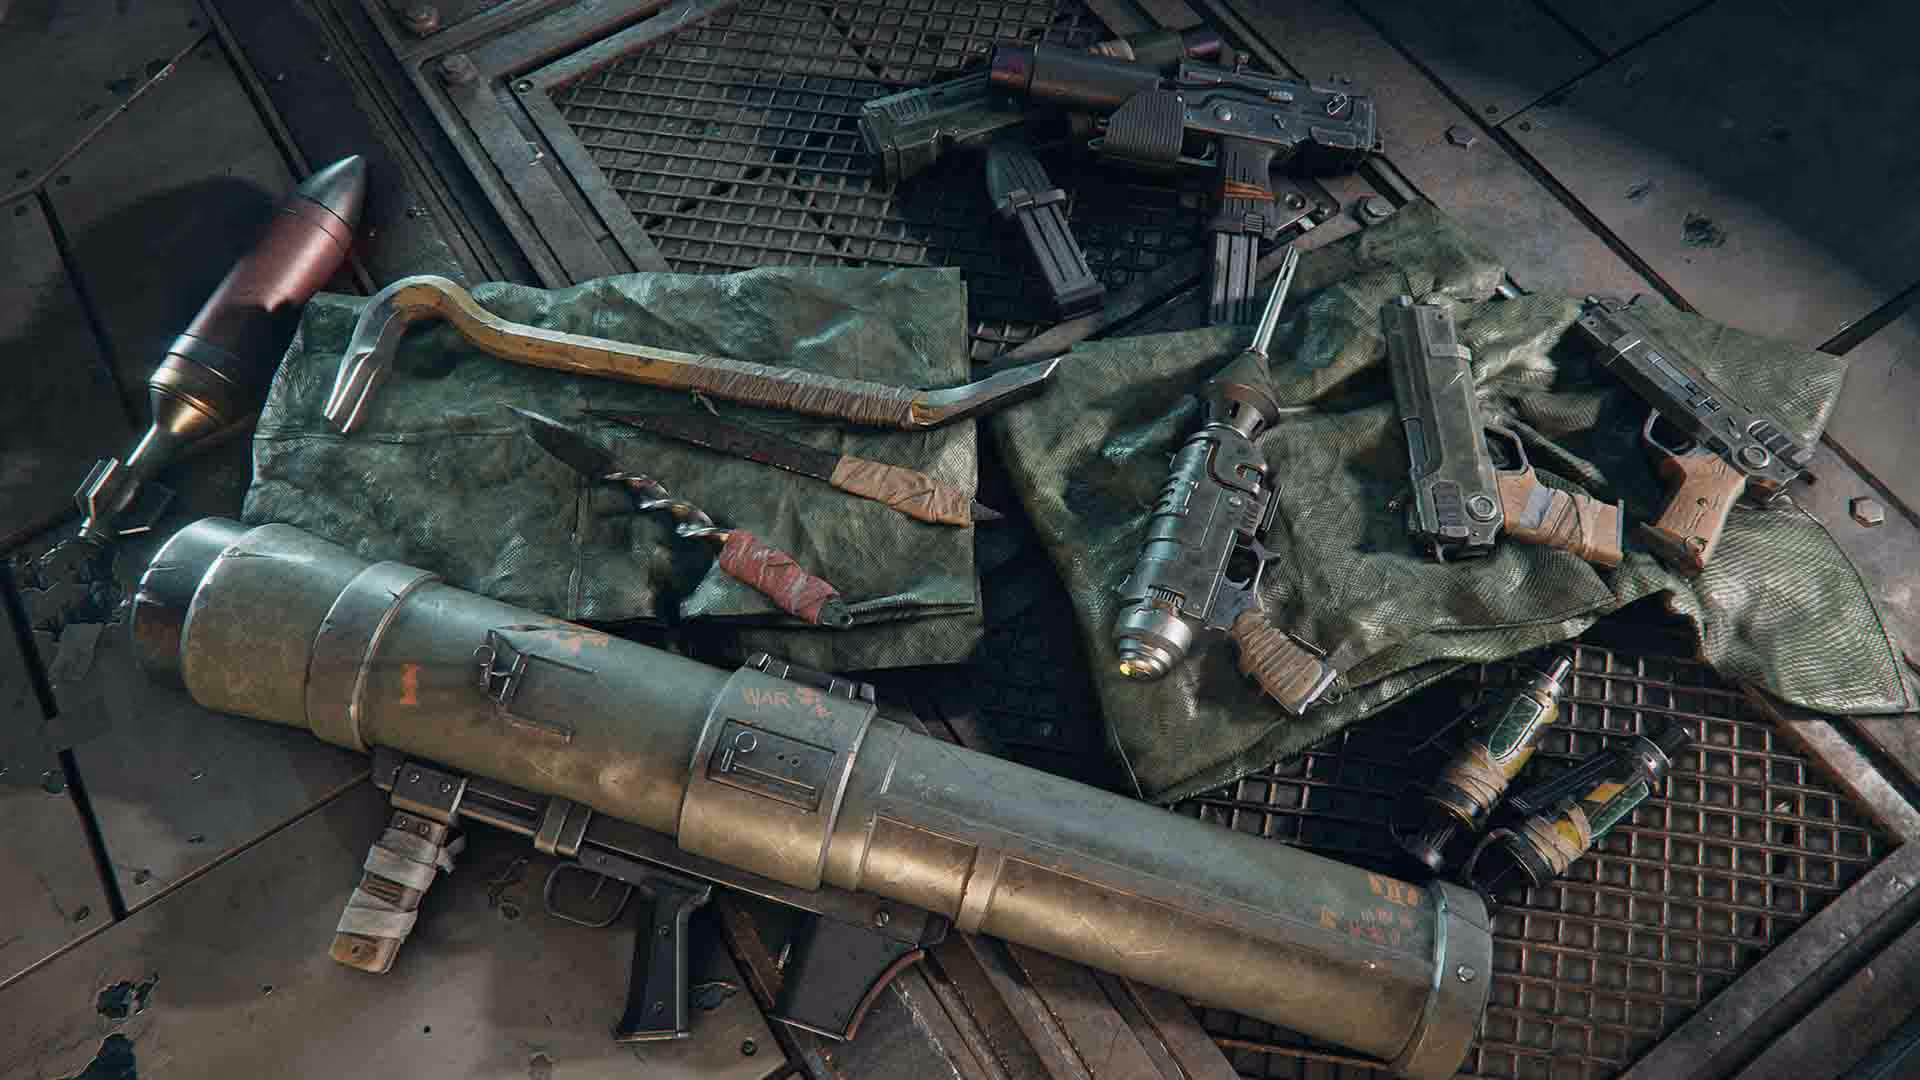
Hive Scum comes in hot with a ton of class features. As experts at fast paced, frenzied gameplay, they bring several new and unique things to the table for the forces of the Mourningstar. For the first time in Darktide, we will have true dual-wielding, both in close combat with the twin shivs, and at range in the form of twin-wielded stub and autopistols. But that is not all, as they also come with new makeshift weapons, like crowbars and bonesaws.
There will also be plenty of options to create your unique Hive Scum; new faces, tattoos, hairstyles and even (for the first time) face paints that will let you customize them to your heart's content.

Stimm lab and Cartel Special
The Hive Scum is more than just a pretty face. All those years in the hive have granted the scum enough chemical know-how to brew their very own Stimms. Upon reaching level 5, you will gain access to the Stimm Lab, a new separate talent tree that lets you customize your Cartel Special, a personalized Stimm for use in the field.
Spending points in the Stimm Lab will add buffs to your Cartel Special (of increasing effectiveness) that activate upon use during missions. Unlike other Stimms, the Cartel Special runs off a cooldown timer, meaning that you will be able to use it multiple times throughout the mission.
The amount of effects you can add is dependent on the Volume of your Stimm, which increases as you level up. As more and more powerful effects are crammed in, your cooldown will begin to climb. There will be a balance here to find for your particular build.
Cycling Stimm use regularly is a core part of playing Hive Scum, but if you prefer to play without it, emptying your Cartel Special will automatically unequip it, letting you use street Stimms in missions as per usual.
Cooldown: between 15 to 75 seconds, depending on points used.
Talent Tree
As the scum of the hive, your playstyle is going to work a little bit different to what you might be used to. The Hive Scum is volatile and comparably squishy to its peers, but with great payoffs in damage, toxin spread and customisability. As usual, the talent tree can be viewed as three sections of a whole, shaping your troublemaker to your liking.
There is a strong emphasis on movement, gap-closing and critical strikes all throughout the Hive Scum tree, but as we dive deeper into specialization we will also find prominent focus on close ranged firepower, relentless melee pummeling, damage-over-time zoning and supportive utility.
Let us go through the more impactful choices you can make in the tree.
Blitzes
Blinder
A light, quick-to-use grenade that staggers enemies. Useful for gap-closing or a quick get-away. Every 20th kill replenishes 1 charge.
Charges: 3.
The upgraded version, ‘Blackout’, increases the maximum amount you can carry to 5.
Boom Bringer
A high power missile launcher that obliterates anything in its path.
Charges: 2.
Chem Grenade
Thrown toxin containing grenade. The canister breaks open and the contents spill out across an area for a time when it explodes. Any enemies standing in the tox will gain up to 6 stacks of Chem Toxin, lose 50% of their Hit-mass and violently explode upon death.
Charges: 3.
Combat Abilities
Desperado
Hive Scum has two Stance based Combat Abilities. The first one, ‘Desperado’, removes any Sprint Cost, grants +20% Sprint Speed, as well as making you immune to ranged attacks for 10 seconds.
Additionally, while Desperado is active, reloading your weapon does not reduce your ammo reserve, meaning that the ammo at hand when entering the ability will remain identical when it ends.
The upgraded version, ‘Enhanced Desperado’, also highlights enemies within Close Range (12.5 meters). Killing them will extend the duration of the ability by 1 second. At 20 seconds, the duration will begin to greatly diminish.
Cooldown: 45 seconds.
Rampage!
Enter ‘Rampage!’ for 10s. For the duration, gain +50% Melee Strength, +20% Attack Speed and +25% Damage Reduction.
Landing Melee Strikes during the duration will extend it by 0.3 seconds. At 20 seconds, the duration will begin to greatly diminish.
When the duration is over, however, you become Exhausted for 7 seconds, receiving +25% Damage Taken and -75% Stamina Regeneration Speed.
Cooldown: 30 seconds.
Stimm Supply
Place a refitted Medical Crate on the ground, bolstering you and your allies. If you have a Stimm equipped (via the Stimm Lab or otherwise), Stimm Supply will consume it, copy its effects and disperse it to any nearby allies.
Additionally, Operatives breathing the Crate’s gas will also heal up to 40 Corruption over time and become immune to it.
Cooldown: 60 seconds.
Auras
Gunslinger
When an Ammo Pickup is collected by you or allies in Coherency, you each replenish Ammo equal to 5% of that pickup.
The upgraded version, ‘Gunslinger Improved’, increases the amount to 10%.
Ruffian
You and Allies in Coherency gain additional 10% Melee Damage.
Anarchist
You and Allies in Coherency gain additional 5% Critical Chance.
Keystones
Vulture’s Mark
Killing a Specialist or Elite Enemy with a ranged weapon grants you a stack of Vulture’s Mark for 8 seconds (stacking 3 times).
Each stack grants +5% Ranged Damage, +5% Critical Chance and +5% Movement Speed.
While at max stacks, Specialist and Elite Ranged Kills also restore 15% Toughness to you and Allies in coherency.
Adrenaline Junkie
Melee Hits grants you a stack of Adrenaline. Critical Melee Hits grants 1 additional stack. Not gaining a stack within 2 seconds will remove a stack instead.
At 30 stacks, you gain Adrenaline Frenzy for 10s, granting you +25% Melee Damage and +10% Attack Speed for the duration.
Reaching Adrenaline Frenzy again during its duration will refresh it.
Chemical Dependency
Using a Stimm (any Stimm) grants you a stack of Dependency for 90 seconds. For each stack, gain +10% Ability Cooldown Reduction. Stacks 3 times, decaying one at a time.
Weapons
Shivs
From the Senior Chymist notes:
“However cool it may look, refrain from licking a coated blade.”
Overview
Metal junk from out-of-order machinery; an array of deadly blades. The difference is subtle, and resides fully in the skill and footwork of the fighter dual-wielding these instruments.
The Shivs have strikingly fast attack speed, sporting also great mobility, increased Critical Chance and a Backstab damage bonus, but require high precision from their user as the weapon potential is unlocked through hitting weakspots and delivering devastating critical hits.
However, the speed and nimbleness are contrasted by low Impact and Cleave capabilities, making these weapons all about the melee dance.
Weapon Special
Swiftly throws a spare coated shiv, dealing immediate damage and applying stacks of Chem Toxin on hit.
The amount of throwing shivs is limited, but they can be regained when killing enemies with backstabs or when killing Elite, Specialist or Monstrosity enemies in melee.
This Special attack can be used to quickly deal with lesser enemies outside of the immediate reach of the Shivs, or to contribute additional damage against larger ones.
The damage of the projectile and the amount of Chem Toxin stacks are increased when hitting a weakspot and on a critical hit.
Mk I Improvised Shivs
This mark of the Shivs focuses on stabbing, with a suite of Strikedown Heavy attacks and Assassin Lights with great first target effectiveness.
Attacks
Light 1: Fast, horizontal Assassin attack with good Finesse multiplier. (Performed with the right Shiv)
Chains into Light 2 and Heavy 1.
Light 2: Fast, uppercut stab Assassin attack with very good Finesse multiplier. (Performed with the right Shiv)
Chains into Light 3 and Heavy 1.
Light 3: Fast, horizontal Assassin attack with good Finesse multiplier. (Performed with the left Shiv)
Chains into Light 4 and Heavy 1.
Light 4: Fast, uppercut stab Assassin attack with very good Finesse multiplier. (Performed with the left Shiv)
Chains into Light 1 and Heavy 1.
Push-attack: Fast, stab Assassin attack with very good Finesse multiplier. (Performed with the right Shiv)
Chains into Light follow-up 1 and Heavy 2.
Light follow-up 1: Fast, diagonal stab Assassin attack with very good Finesse multiplier. (Performed with the left Shiv)
Chains into Light follow-up 2 and Heavy 1.
Light follow-up 2: Fast, diagonal stab Assassin attack with very good Finesse multiplier. (Performed with the right Shiv)
Chains into Light 3 and Heavy 1.
Heavy 1: Moderately slow, vertical stab Strikedown attack with great Damage and Finesse multiplier. (Performed with both Shivs)
This attack has extremely low Cleave, but can hit two enemies at the same time as each shiv counts as a separate sweep.
Chains into Light follow-up 1 and Heavy 2.
Heavy 2: Moderately slow, frontal stab Strikedown attack with great Damage and Finesse multiplier. (Performed with both Shivs)
This attack has ok Cleave, but also reduced damage on secondary targets.
Chains into Light 1 and Heavy 1.
Suggested Horde combos
L1 > L2 > L3 > L4 > L1 > …
Push-attack > L follow-up 1 > L follow-up 2 > L3 > …
H1 > L follow-up 1 > H1 > …
Suggested Single Target combos
H1 > H2 > H1 > …
Push-attack > L follow-up 1 > L follow-up 2 > H1 > …
Push-attack > H2 > …
Mk III Improvised Shivs
This mark has enhanced Cleave values on its Light and Heavy slices, but the best single-target attacks are gated behind the Push-attack chain.
Attacks
Light 1: Fast, horizontal Assassin attack with good Cleave and Finesse multiplier. (Performed with the left Shiv)
Chains into Light 2 and Heavy 2.
Light 2: Fast, horizontal Assassin attack with good Cleave and Finesse multiplier. (Performed with the right Shiv)
Chains into Light 3 and Heavy 1.
Light 3: Fast, diagonal stab Assassin attack with very good Finesse multiplier. (Performed with the left Shiv)
Chains into Light 4 and Heavy 2.
Light 4: Fast, uppercut stab Assassin attack with very good Finesse multiplier. (Performed with the right Shiv)
Chains into Light 1 and Heavy 1.
Push-attack: Fast, stab Assassin attack with very good Finesse multiplier. (Performed with the right Shiv)
Chains into Light follow-up from Push-attack 1 and Heavy from Push-attack.
Light follow-up 1: Fast, diagonal Assassin attack with very good Finesse multiplier. (Performed with the left Shiv)
Chains into Light follow-up from Push-attack 2 and Heavy 1.
Light follow-up 2: Fast, diagonal stab Assassin attack with very good Finesse multiplier. (Performed with the right Shiv)
Chains into Light 3 and Heavy 1.
Heavy 1: Moderately slow, horizontal Vanguard attack with good Damage, Cleave and Finesse multiplier. (Performed with the left Shiv)
Chains into Light 2 and Heavy 2.
Heavy 2: Moderately slow, horizontal Vanguard attack with good Damage, Cleave and Finesse multiplier. (Performed with the left Shiv)
Chains into Light 1 and Heavy 1.
Heavy follow-up from Push-attack: Moderately slow, frontal stab Strikedown attack with great Damage and Finesse multiplier. (Performed with both Shivs)
This attack has ok Cleave, but also reduced damage on secondary targets.
Chains into Light follow-up 1 and Heavy 1
Suggested Horde combos
H1 > L2 > H1 > …
H1 > H2 > L1/H1 > …
L1 > L2 > L3 > L4 > L1 > …
Suggested Single Target combos
Push-Attack > H follow-up > L follow-up 1 > L follow-up 2 > L3 > L4 > Block cancel
Push-Attack > L follow-up 1 > …
Push-Attack > H follow-up > Block cancel
Blessings
- Flesh Tearer
- 5-8 Bleed Stacks on Critical Hit.
- Lacerate
- 1-4 Bleed Stacks on non-Weak Spot Hits.
- Mercy Killer
- +52.5-60% Weak Spot Damage (Enemies with Bleed Stacks).
- Executor
- +4.5-6% Strength on Repeated Weak Spot Hit. Stacks 5 times.
- Haymaker
- 1-4% to Instakill human-sized enemies on Chained Heavy Hit. Stacks 5 times. Note that other potential triggers will not be activated on Instakill.
- Ruthless Backstab
- +70-100% Rending on Backstab Hit.
- Uncanny Strike
- +4-8% Rending on Enemy Weak Spot Hit for 3.5 seconds. Stacks 5 times.
- Precognition
- +30-45% Finesse Damage for 2 seconds on successful Dodge.
- Riposte
- +12.5-20% Critical Chance for 6 seconds on successful Dodge.
Crowbar
“Wrong man in the right place ah?”
Overview
Direct and unsophisticated, the Crowbar is the go-to tool of Hive Scums with a slugger inclination. Its generous Damage, Impact and Stamina values make the Crowbar an easy to use and dependable weapon.
Through its Special action, the grip on the weapon can be altered to swiftly access different moveset types, allowing it to deal with any surprise in the battlefield.
The Crowbar also has the newly introduced Charged Swings effect on its Heavy attacks: the more time a Heavy windup is maintained, the more Strength will be added to the following attack (up to +22.5% total Strength generated over 3 steps, with a similar timing as the Thrust Blessing).
Weapon Special
The Special action switches the grip on the Crowbar between the primary “Blunt” and secondary “Beak” modes, changing the moveset and the properties of the attacks.
In primary mode, attacks have increased Cleave and inflict good Impact also to secondary enemies hit during the swing.
In secondary mode, attacks remain stuck deep into the first enemy hit, to be then yanked out for an additional instance of Damage and Impact.
It is possible to cancel the second hit by performing a Dodge while being stuck after the initial hit, but at the cost of some Stamina.
Additionally, the first attack chained immediately after a Special grip change (to either side) will have additional power.
Mk VI Enginseer’s Crowbar
Attacks in the primary mode are useful in all situations, but excels when it comes to controlling hordes and lesser enemies.
Switch to secondary mode to access attacks that are particularly apt at dealing with single targets of any size at the cost of decreased nimbleness.
Attacks - Primary mode
Light 1: Fast, uppercut Strikedown attack with good Damage against all armour types.
Light 2: Moderately fast, vertical Strikedown attack with good Damage against all armour types.
Light 3 / Light 4: Fast diagonal Relentless attacks with good Impact and Cleave properties.
Push-attack: Horizontal Relentless attack with similar properties as Light 3 / Light 4. Chains into Light 3 and Heavy 1.
Heavy 1: Slow, uppercut Strikedown attack with great Damage, armour penetration and Cleave, and high Impact also against secondary targets.
Heavy 2: Slow, diagonal Relentless attack with great Impact and Cleave properties. Chains into Light 3 and Heavy 1.
Attacks - Secondary mode
Light 1 Secondary / Light 2 Secondary: Moderately fast, vertical Strikedown attacks with good Damage and Impact against all armour types.
Push-attack Secondary: Horizontal Relentless attack with good Impact and Cleave properties.
Note: this attack does not remain stuck into enemies, and does not perform the additional hit.
Heavy 1 Secondary: Slow, diagonal Strikedown attack with great Damage, Impact and armour penetration.
Heavy 2 Secondary: Slow, vertical Strikedown attack with great Damage, Impact and armour penetration.
Suggested Horde combos
H1 > H2 > L3 > H2 > ..
H1 > H2 > L3 > L4 > H1 > …
H1 > H2 > H1 > ...
Push-attack > L3/H1 > …
Push-attack Secondary> Special flip to Primary mode > L3/H1 > …
Suggested Single Target combos
Special flip to Secondary mode > L1s/H1s > L2s/H2s > L1s/H1s > …
L1/H1 > L2 > Special flip to Secondary mode > …
L1/H1 > Special flip to Secondary mode > L2s/H2s > …
L2s/H2s > Special flip to Primary mode > L1/H1 > …
Blessings
- All or nothing
- Up to +25-40% Strength, as Stamina depletes.
- Limbsplitter
- +60% Strength on your first attack every 3.5-5 seconds.
- Take a Swing
- +45-60% Weak Spot Damage for 3 seconds on Pushing Enemies.
- Bash
- +5-12.5% Critical Chance for 3 seconds on Pushing Enemies.
- Opportunist
- +10-25% Rending vs Staggered Enemies.
- Unstoppable Force
- Fully Charged Heavy Attacks ignore Enemy Hit Mass and have +2.5-10% Damage.
- Superiority
- +5-12.5% Strength for 7 seconds on Elite and Specialist Kill. Stacks 3 times, deteriorating one at a time.
- Can Opener
- Hitting an enemy while in Secondary mode gives them 1-4 stacks of 2.5% Brittleness. Debuff lasts for 5 seconds and can have a maximum of 16 stacks.
- Note: the Brittleness stacks will be applied by both hits of the attacks in Secondary mode.
Bone Saw
“My toxin formula has been concocted in the lowest levels of the Underhive.
So you know it’s good.”
Overview
The Bone Saw showcases the craftiness and underhanded tactics of the Hive Scums.
Chem coatings are applied to the blade, allowing it to punch above its weight by turning a rusty instrument into a weapon that even Nurgle’s chosen will learn to fear.
A fresh coating will be applied when performing the Special action, alternating between the Chem Toxin and Brittleness on-hit effects.
Weapon Special
The Bone Saw is coated by a chem layer at all times, with the option of switching between the two available coatings through the Special action.
While the moveset and the general performance of the weapon remains the same, each coating has its own strengths and peculiarities, as described below.
If performing a Critical Strike, an additional stack of the on-hit effects will be applied.
When using the Chem Toxin coating, the weapon applies a small amount of stacks of the related effect, doing damage over time to affected enemies.
This effect is shared with other weapons and abilities of the Hive Scum, allowing the Bone Saw to benefit from and add to already applied stacks of the same Chem Toxin.
The base properties of weapon hits are altered to inflict more damage to “fleshy” armour types (e.g. Unarmoured, Maniac).
When using the Brittleness coating, the weapon applies on-hit a small amount of stacks of an unique Hive Scum Brittleness debuff, granting additional damage from any source against the more hardened armour types.
This effect has a limit of 15 stacks (for a total of 37.5% Brittleness), but can be applied in addition to other forms of Brittleness without sharing the same maximum cap.
The base properties of weapon hits are altered to inflict more damage to “armoured” armour types (e.g. Flak, Carapace).
Mk IV Chirurgeon’s Bone Saw
With a large set of diagonal Vanguard and vertical Strikedown attacks, the Bone Saw can easily flow from wide crowd-dispatching sweeps to single-target swings.
The Heavy follow-up from Push and Heavy 1 attacks hit twice, but remain stuck momentarily into enemies hit before ripping out of them in a brutal display.
It is possible to cancel the second hit by performing a Dodge at the cost of some Stamina.
When performing these attacks with multiple hits, stacks of the coating effects will be generated from both instances of damage.
Attacks
Light 1: Fast diagonal Vanguard attack with decent Cleave properties.
Light 2: Moderately fast, vertical Strikedown attack with good Damage against all armour types. Also chained into after a Push.
Light 3: Moderately fast, vertical Strikedown attack with similar properties to Light 2, but with additional Strength.
Light 4 / Push-attack: Fast diagonal Vanguard attacks with similar properties to Light 1, but increased base power.
Heavy 1: Slow, vertical Strikedown attack with great Damage and armour penetration. Remains stuck into enemies hit, and performs a second hit when ripping out of them.
Heavy 2: Slow, diagonal Vanguard attack with good Cleave properties and Damage on secondary targets.
Heavy follow-up from Push: Slow, vertical Strikedown attack with similar properties to Heavy 1. Chains into Light 3 and Heavy 1.
Heavy follow-up from Push-attack: Slow, diagonal Vanguard attack with similar properties to Heavy 2. Chains into Light 2 and Heavy 2.
Suggested Horde combos
L1 > H2 > L1 > ...
Push-attack > L1 > ...
Push-attack > H follow up from Push-attack > H2 > ...
Suggested Single Target combos
H1 > L2 > H1 > ...
H1 > L2 > L3 > Block cancel > …
H1 > Block cancel > ...
Push > L2 > ...
Push > H follow up from Push > H1/L3 > …
Blessings
- Decapitator
- +18-24% Finesse for 5 seconds on Enemy One-Shot. Stacks 5 times.
- Decimator
- Continuously chaining more than 2 attacks gives +2-5% Strength. Stacks 10 times.
- Relentless Strikes
- +4-10% Strength for 2 seconds on Hit (Same Enemy). Stacks 5 times.
- Shred
- +2.5-4% Bonus Critical Chance on Chained Hit. Stacks 5 times.
- Limbsplitter
- +60% Strength on your First Attack every 3.5-5 seconds.
- Refined Lethality
- +52.5-60% Weak Spot Damage (Enemies with Toxin stacks).
- Note: this is triggered also by the unique Brittleness effect from the Bone Saw secondary coating
- +52.5-60% Weak Spot Damage (Enemies with Toxin stacks).
- Shock & Awe
- -30-60% Enemy Hit Mass for 3 seconds on Kill.
- Wrath
- +10-25% Cleave on Hit. Stacks 5 times.
Dual Auto Pistols
Overview
Branx Mk III Autopistols
Introducing Darktide’s first dual ranged weapon. What's better than a high fire rate autopistol? Two high fire rate Autopistols to unleash a storm of bullets upon the heretics.
The weapon goes all in for mobility and offence, fielding a high magazine and ammo reserve for those who are not interested in precision aiming and like to run and shoot in a general direction.
Very effective at short to mid ranges!
Primary Fire
Shoot from the hips with both guns simultaneously without sacrificing mobility.
Secondary Fire
Secondary fire braces both guns for slightly increased accuracy at the cost of movement speed.
Weapon Special
Perform a quick push to stop heretic's melee attacks, then proceed to shoot them.
Blessings
- Sustained Fire
- +14-20% Damage on Second, Third and Fourth shots in a Salvo.
- Blaze Away
- +5-8% Strength for every 10% of magazine spent during continuous fire. Stacks 5 times.
- Powderburn
- +14-20% Damage against Suppressed Enemies, +28-40% Suppression and -28-40% Recoil on Close Range Kill.
- Speedload
- +7-10% Reload Speed for 2 seconds after Close Kill. Stacks 5 times.
- Pinning Fire
- +4.25-5% Strength for every Enemy you Stagger. Stacks 5 Times.
- Terrifying Barrage
- Suppress Enemies within 5-8m Radius on Close Range Kill
- Inspiring Barrage
- +1-4% Toughness for every 10% of magazine spent during continuous fire. Stacks 5 times.
- Raking Fire
- +32.5-40% Damage when shooting Enemies in the back.
- Run ‘n’ Gun
- You can Hipfire with this weapon while Sprinting. +6-15% Close Damage while Sprinting. Also Reduces weapon spread at all times by -30%.
Needle Pistol
“Software version 7.0"
Overview
Branx MkII / MkVI Needle Pistol
The Needle Pistol: The Chemist's Weapon of Choice
This virtually silent pistol fires toxin-coated needles. While the needles themselves inflict a low amount of direct damage, they apply a powerful toxin that deals high damage over time. To quickly dispatch heretics, multiple stacks can be applied. Weakspot and critical hits also inflict a higher amount of toxin.
The weapon features excellent handling, low recoil, and good hip-fire accuracy, becoming pinpoint accurate when aiming down sights. Its main limitations are a small magazine capacity and a restricted ammo reserve. So choose your targets with care.
Weapon Special
Alternate fire mode. Flip the switch to alter the chemical composition of the toxin, making it highly Volatile and with the following effects:
- Needles explode on impact into a toxic cloud, applying stacks of Chem Toxin in a small area
- Enemies hit with a direct hit explode upon death
- MkII explosion deals damage
- MkVI releases a large gas cloud that applies a small amount of Chem Toxin stacks.
Blessings
- Run ‘n’ Gun
- You can Hipfire with this weapon while Sprinting. +6-15% Close Damage while Sprinting. Also Reduces weapon spread at all times by -30%.
- Hot-Shot
- Weak Spot Hits gain 20-50% Cleave.
- Ghost
- Immune to Ranged Attacks for 0.6-1.2s on Weak Spot Hit.
- Point Blank
- +14-20% Ranged Critical Chance after Melee Kill for 3.5 seconds.
- Concentrated Fire
- Up to +2-5% Critical Chance on Chained Ranged Weak Spot Hit. (Any Target).
- Desperado
- +12.5-20% Critical Chance for 6s on successful Dodge.
- Stripped Down
- Gain Ranged Attack Immunity while sprinting with over 80-50% Stamina
- Speedload
- +7-10% Reload Speed for 2 seconds after Close Kill. Stacks 5 times.
- Between the Eyes
- Gain Suppression Immunity for 2.4-3.6s on Weak Spot Hit.
- Glory Hunter
- +17.5-25% Toughness on Elite Kill.
Dual Stub Pistols
“My guns! So anyway…”
Overview
The Dual Stub Pistols offer high mobility and a fast semi-automatic fire rate. They feature good damage per shot and are reliable close to long-range. Which gives a lot of flexibility of movement for rapid repositioning, evasion, and flanking.
Primary Fire
Alternating shots right to left from hipfire. Decent accuracy without sacrificing mobility.
Secondary Fire
Goes into braced mode. Slightly improving accuracy at the cost of mobility.
Weapon Special
The Special ability performs Trickshot with precision that grants pinpoint accuracy (for a brief duration) for the following shot, resulting in higher weak spot and critical damage.
Blessings
- Terrifying Barrage
- Suppress Enemies within 5-8m Radius on Close Range Kill.
- Raking Fire
- +32.5-40% Damage when shooting Enemies in the back.
- Run ‘n’ Gun
- You can Hipfire with this weapon while Sprinting. +6-15% Close Damage while Sprinting. Also Reduces weapon spread at all times by -30%.
- Hit & Run
- Immune to Ranged Attacks for 0.7-1s on Close Range Kill.
- Crucian Roulette
- +1-2% Critical Chance for each expended round in your weapon (resets on reload).
- Born in Blood
- +4.5-6% Toughness on Close Ranged Kill.
- Desperado
- +12.5-20% Critical Chance for 6s on successful Dodge.
- Sustained Fire
- +14-20% Damage on Second, Third and Fourth shots in a Salvo
- Powderburn
- +14-20% Damage against Suppressed Enemies, +28-40% Suppression and -28-40% Recoil on Close Range Kill.
- Speedload
- +7-10% Reload Speed for 2 seconds after Close Kill. Stacks 5 times.
- Pinning Fire
- +4.25-5% Strength for every Enemy you Stagger. Stacks 5 Times.
We’re so excited to have you guys finally be able to play both the new class and the new mission! Let us know what you think in the comments!
For the Conclave!
We’ll see you on the Mourningstar.
– The Darktide Team